
Welcome to YouChoose, a blog where we explore ways of living sustainably. This week I would like to talk about one of my preferred times of the years: the time when leaves fall.
There is something magic about standing under a shower of gold leaflets on a fall day. It always makes me think of enchanted forests where trees with precious glittering leaves grow. What? You may say, fallen leaves mean spending my afternoon collecting them, bagging them and trashing them, or spending money for a service.
If that is how you feel about leaves, I hope you will change your mind after reading this post. Leaves are a precious gift that our Earth gives us in fall and takes back in spring. I used to do exactly that, collect them and dispose them at the curb side as unwanted “garden waste”. No more. Here is what I learned about leaves and why it is so important to keep and reuse them.
Leaves are an essential component of the ecosystem. They improve the soil, keep the moisture, and provide essential living quarters for insects, amphibians, turtles and others to survive the harsh winter. Have you ever wondered where the fireflies go during the cold months? Their larvae overwinter in the fallen leaves and rotting wood. Keeping the leaves in your yard will ensure a wonderful display of fireflies in summer. I have seen that in my own backyard. Other species that rely on fallen leaves are several butterflies and almost all moths. Many non-migratory birds search for food in the fallen leaves during winter and rely on the emerging insects in spring. Removing and trashing leaves is an unsustainable practice that does great harm to biodiversity. Do you need more reasons to keep the leaves in your yard? Here are a few more.

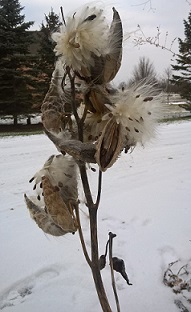
The Nessus Sphinx moth larvae, like many other moths, overwinter in leaves 
Caterpillars of the Silver Skipper butterfly overwinter in leaves
It will save you money
This is a lose-lose situation. We pay somebody to come and pick up our leaves in fall and then in spring we pay somebody to bring them back into our yard in the shape of mulch. All we have to do is to utilize our leaves to achieve the same results for free. I started using my backyard leaves 2 years ago and I will discuss in future posts what worked and what didn’t work.
If you are really worried about your lawn suffering under the leaves you can select an area of your yard where you can collect all your leaves and let them stay there until spring. By then they will be ready to be distributed around trees or on planted areas.

It will save you work
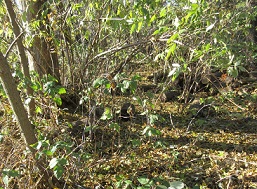
If you have a wooded area in your yard you can leave the fallen leaves where they are. No need to do any work. They will provide beautiful colors and habitat under the snow cover. On the lawn I like to spend one hour on a beautiful fall afternoon raking leaves, however a blower will also do if you can stand the noise. I usually collect a many as I can and move them, but also leave some where they are. Some suggest to shred the leaves to make them break down faster, however in my opinion this should really be the last option. Shredding the leaves will likely destroy the caterpillars and other bugs sheltering in them.

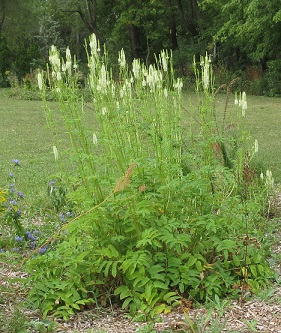
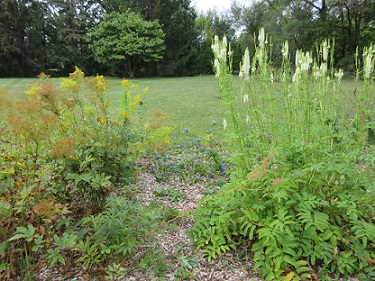
Fallen leave make a beautiful carpet under trees 
On the lawn they can be easily raked and moved to the side
I hope this fall you will decide to stop mowing, blowing, shredding, bagging, hauling, and just enjoy all the treasures that our Earth provides for us.
The YouChoose App provides several great links to resources on native plants and sustainable gardening. If you have an android phone you can download the app from Google Play or using the link on the right.
Do you want to share your experience? Send me an email at info@choosesustainable.org
If you liked this post please share it!